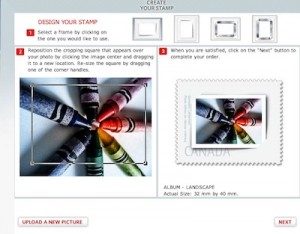
I love treating my clients well, and one of the ways I do that is by sending little gifts periodically just to say thanks. Gift baskets with coffee or chocolates are always popular, of course, but I also try to come up with products that—more than just being tasty—are useful and memorable.
That has lead me to one of my newest gift products: custom-made postage stamps.
After all, even in this digital age, just about everyone I know still needs stamps…and just about everyone I know in business is always short a stamp or two for mail-outs. So when an envelope arrives at a client’s doorstep with a full sheet of personalized stamps (authorized by Canada Post*) ready to use, I can almost hear their cheers right across town.
The feedback I’ve received on this product has been great, and that’s included plenty of interest in learning more about how it’s done. So here’s a summary in three easy steps.
1. Visit Canada Post’s Picture Postage website. It explains all the important technical and legal points that you need to know about.
2. Choose the digital image that you want to feature on your personalized stamp. Make sure it’s a photo you own and have the legal right to feature on a stamp. A company logo might be allowed, but exercise good judgment. Remember that your client is going to want to use the stamps on their own mailouts, so make sure that it doesn’t look as though you’re putting your brand on their correspondence. My approach has been to use photos from my personal collection, but decide what works best for you.
3. Review the finished product and send to your client. When your order ships to you from Canada Post, it features a full sheet of stamps, plus a card-sized reproduction. I forward this along with a short note to my client saying thanks for their ongoing business. I also find it helpful to mention that yes, indeed, these are real stamps and valid at domestic letter rates in Canada.
* American readers take note: there’s a similar service for custom US postage available right here.
